How to Add a Spotify Pre-Save to Your Shopify Store
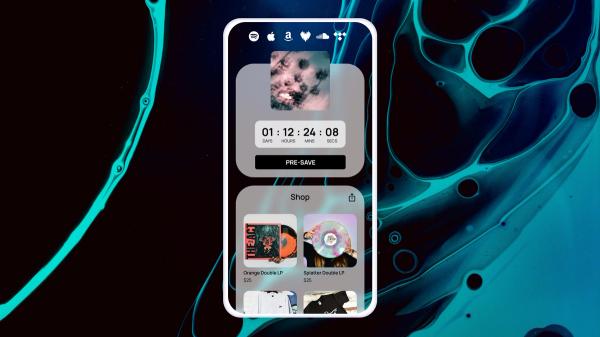
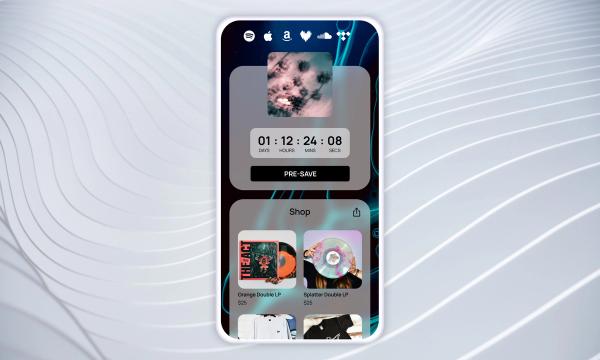
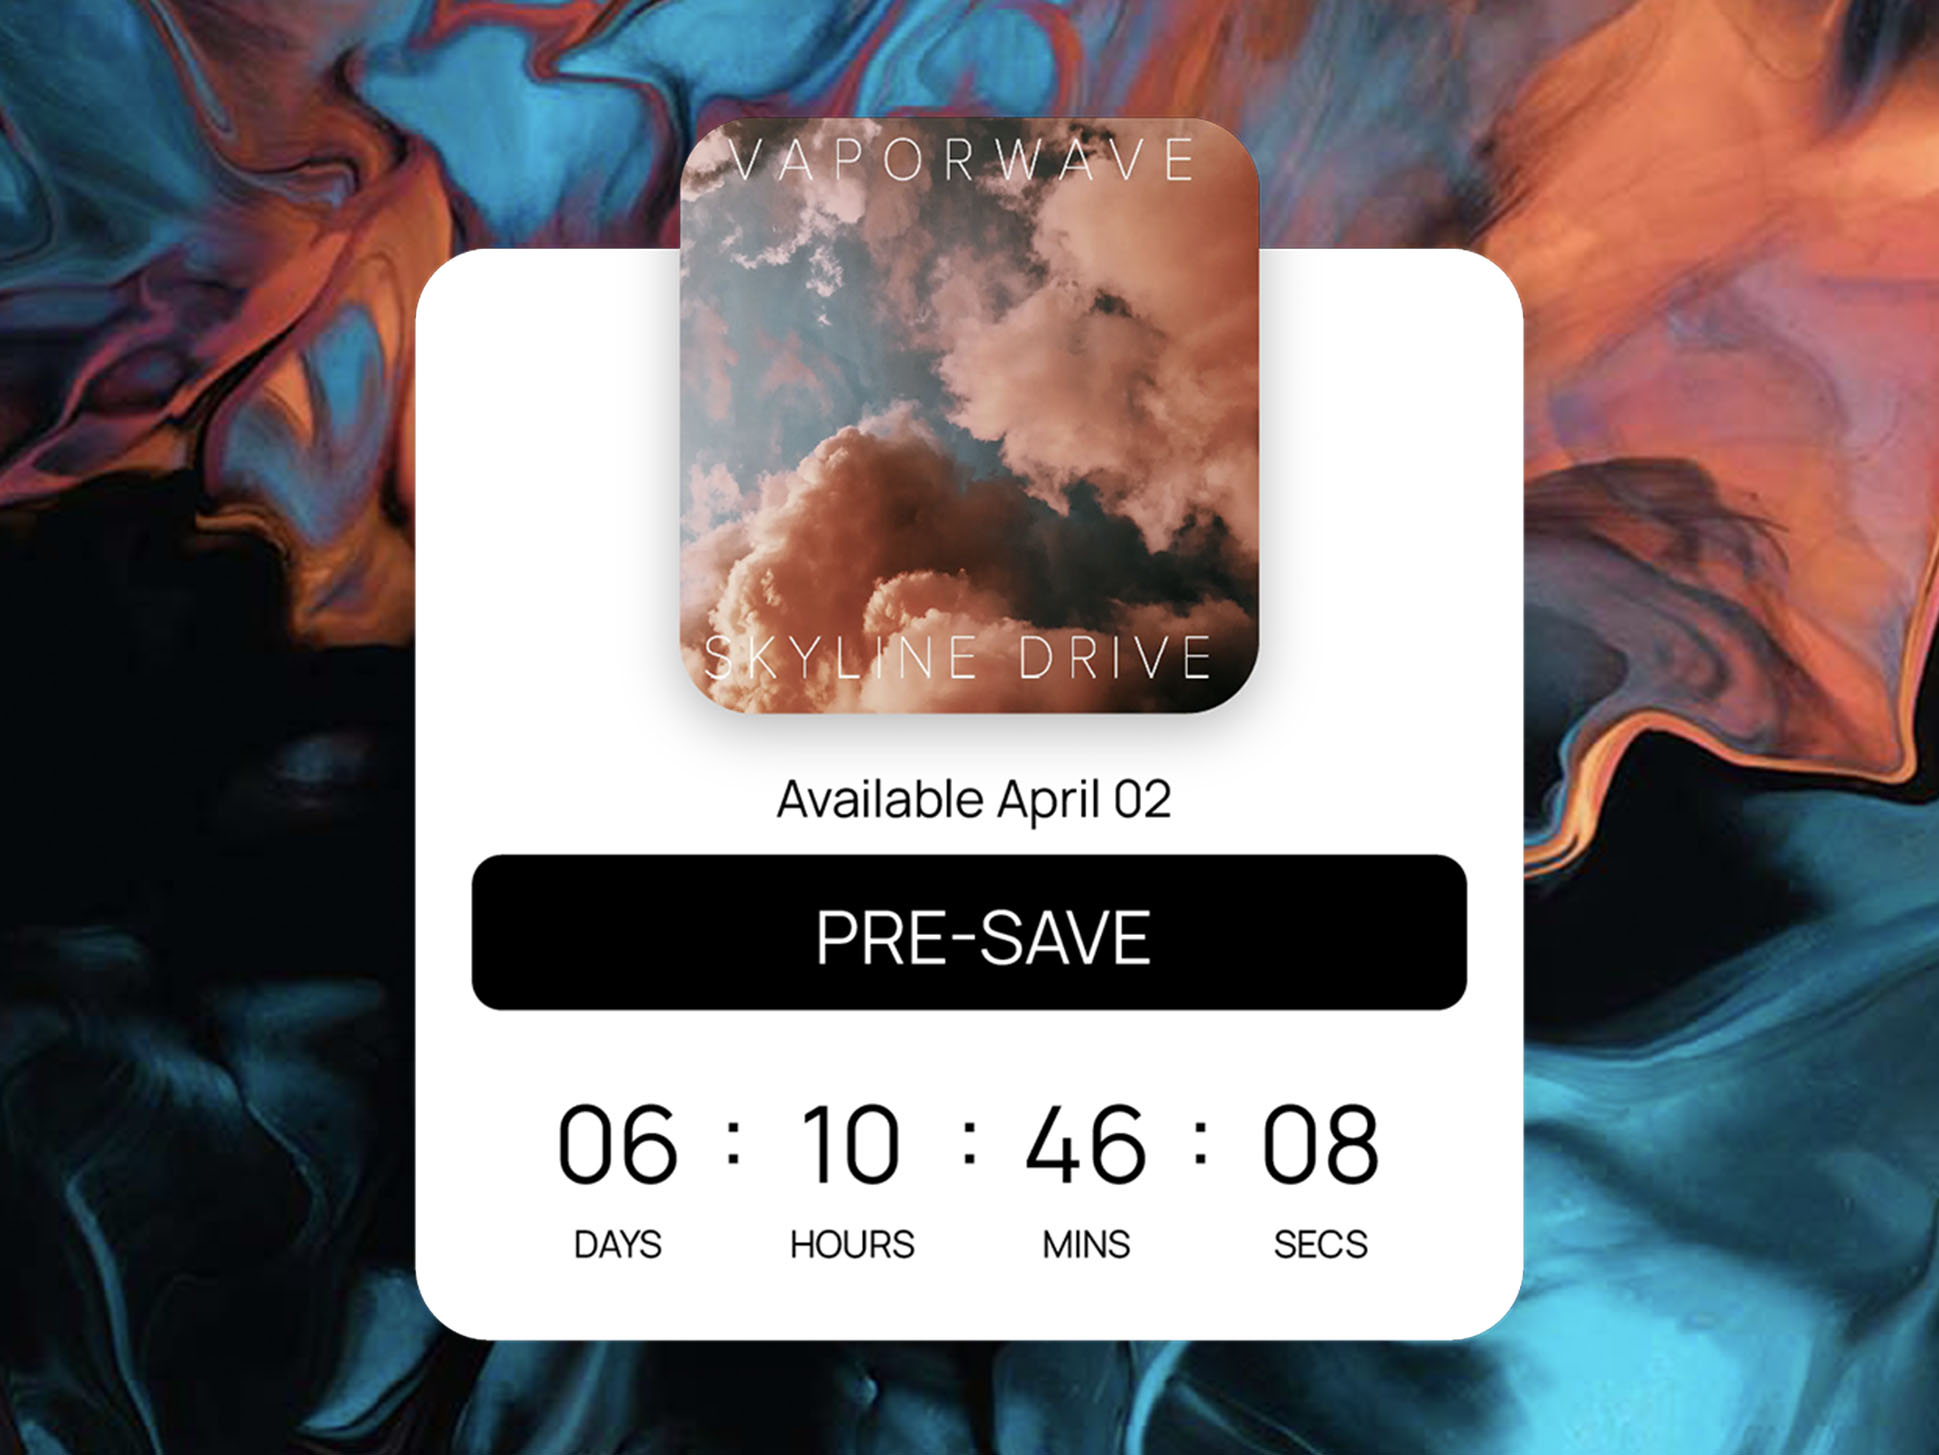
If you’re an artist gearing up for a new release, Spotify pre-saves are a powerful way to build hype and ensure your fans are ready to stream the moment it drops. But why send fans to a third-party site when you can keep them engaged right on your merch store?
With Sonikit, you can embed pre-saves directly into your Shopify storefront. That means more control, better branding, and no need to redirect fans away from your own domain.
Why Artists Choose Sonikit for Pre-Saves
Sonikit's embeddable pre-saves give you a unique edge:
- Embed pre-saves directly into any product or landing page
- Collect email and phone numbers from superfans
- Support for multiple platforms: Spotify, Apple Music, Amazon Music, and more
- Optional NextSave toggle for fans to auto-save future releases (Pro & Enterprise plans)
🎛 Step 1: Create Your Pre-Save Embed in Sonikit
First, log in to your Sonikit dashboard and generate a custom pre-save widget.
- Navigate to the "Embeds" tab
- Click "Create Embed"
- Select "Pre-save"
- Fill in your release details:
- Add your release name
- Set the release date and time
- Choose between a global or local release time (so fans see the right time wherever they are)
- Enable NextSave if you want (Pro/Enterprise plans)
- Add your streaming links:
- If your album has been delivered to streaming services and you have a link or UPC, add it to auto-fill your service details
- If not, manually upload your art and select platforms like Spotify, Apple Music, Amazon Music, etc.
- Click Save
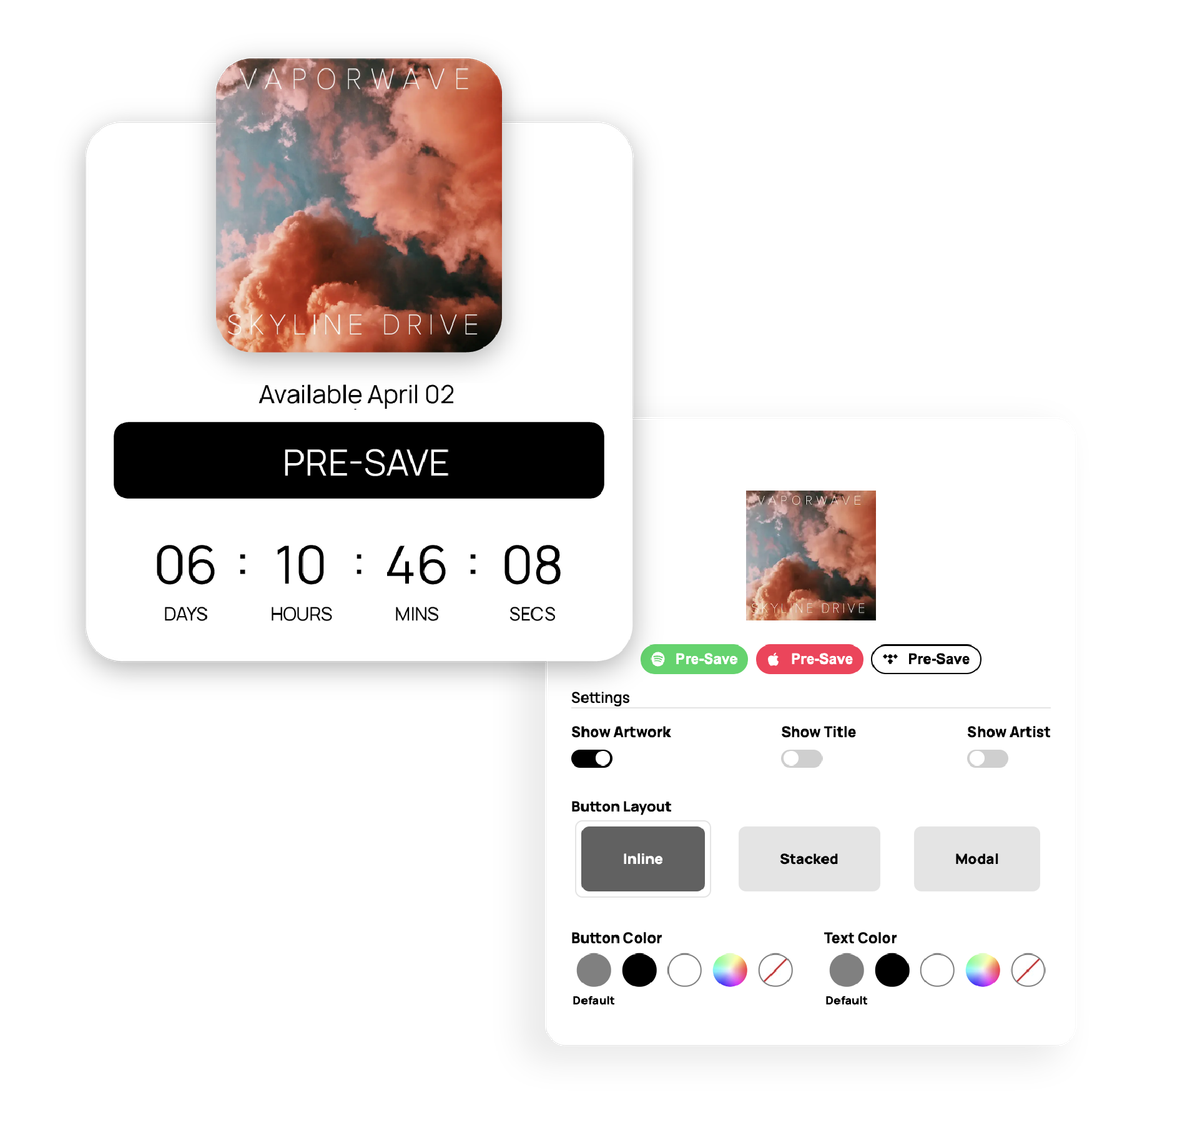
- If you'd like to customize the design and layout of your embed, click the Gear icon on the top right corner of your new embed to adjust the embeds settings
- When you're ready click the "code" icon on your new embed and copy the HTML snippet (this is a
<div>with a unique ID)
📁 Step 2: Add the Embed to Your Shopify Store
To properly display the pre-save, you'll need to add both the Sonikit SDK and the embed code itself.
Part A: Install the Sonikit SDK
- In your Shopify admin, go to Online Store > Themes
- Click "... > Edit Code" on your current theme
- In the left sidebar, open
layout/theme.liquid - Just before the closing
</body>tag, paste this script tag (replace[YOUR_PROJECT_ID]with your actual Sonikit project ID):
<script src="https://js.sonikit.com/v1/embed.js?key=[YOUR_PROJECT_ID]" type="module"></script>
- Click Save
Part B: Insert the Embed Code Where You Want It
- Go to Online Store > Pages (or navigate to the product/custom page where you'd like the embed)
- Edit the page where the pre-save should appear
- In the content editor, click the "Show HTML" (<>) button
- Paste the Sonikit embed
<div>code you copied earlier - Save the page
- Preview your store to confirm the embed is working correctly
📍 Where Should You Embed the Pre-Save?
Artists often place the Sonikit pre-save embed:
- On a dedicated "New Music" or "Pre-Save Now" page
- Inside a product description (for merch drops tied to a release)
- On the homepage or announcement bar
Add a simple CTA like:
"Pre-save the new single and be first to hear it."
📈Tracking & Results
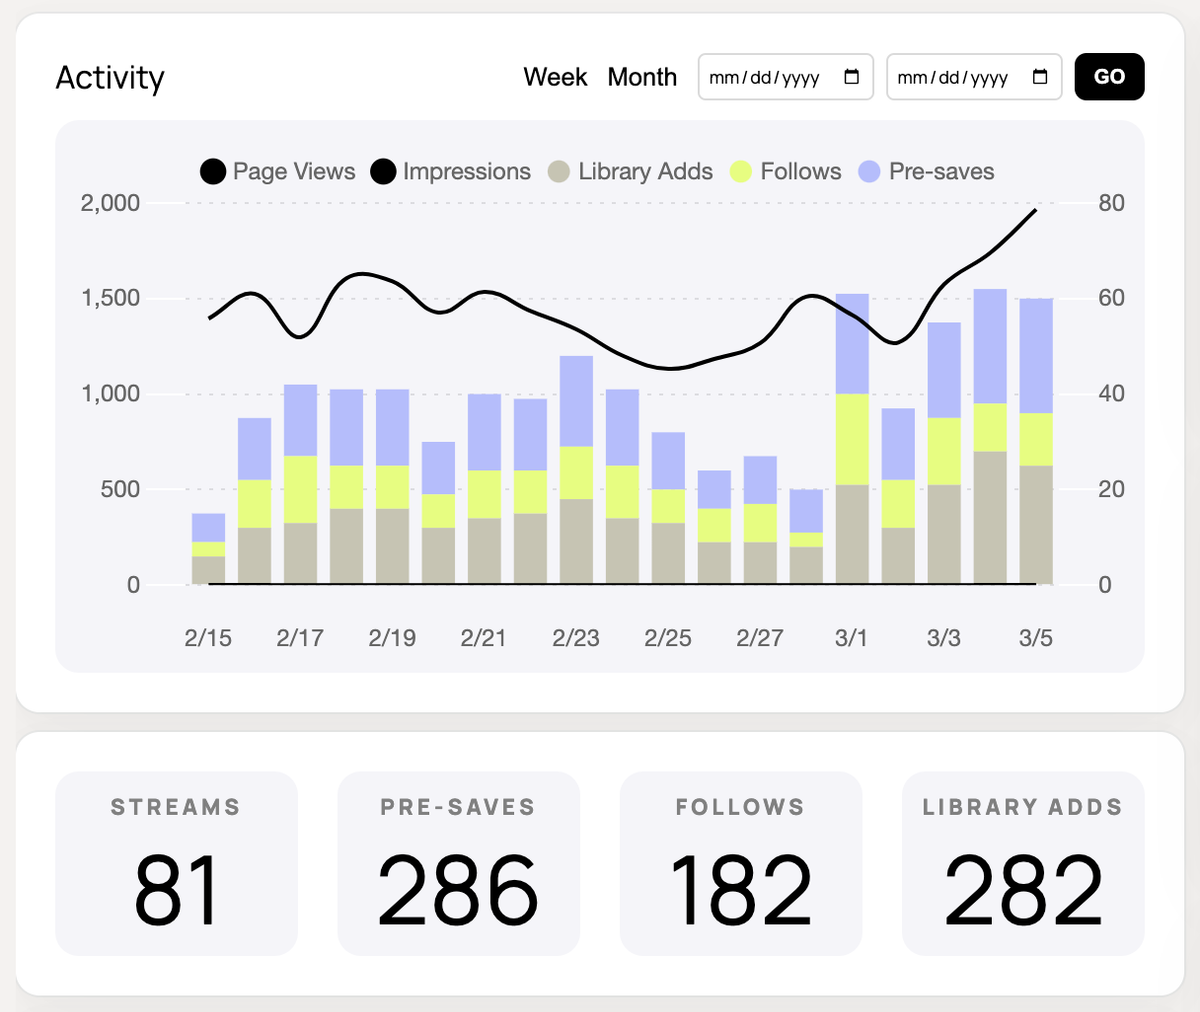
Not only can the Sonikit pre-save be embedded directly into your website, but it also automatically tracks detailed analytics about your fan engagement. Visit your Sonikit dashboard to see how many pre-saves your embed has generated, which services fans used, and detailed fan demographics.
You're Ready to Launch
With your Spotify pre-save embed live on Shopify, you’re ready to turn your store visitors into streaming listeners. Keep fans on your site, grow your contact list, and give them a seamless way to support your music.
Don't have a Sonikit account yet? Set up a free trial to test out different pre-save options to see if it's a good fit for your next release.